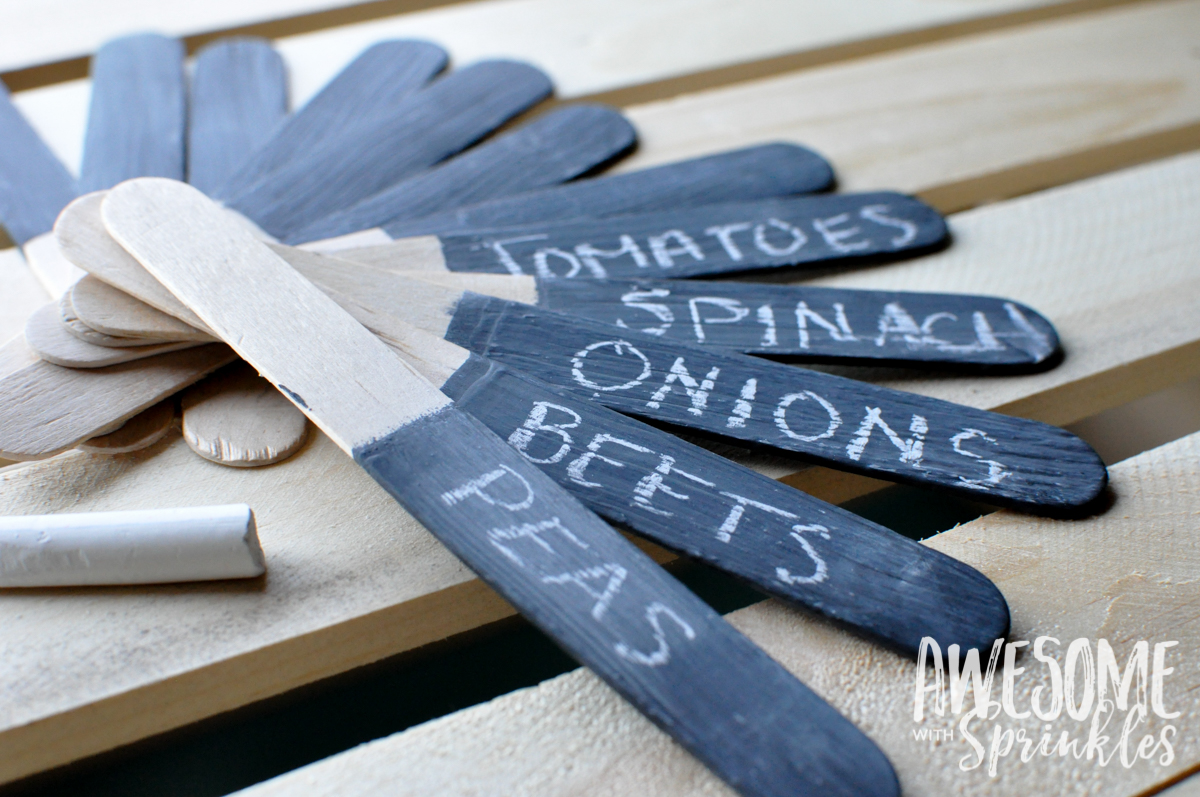
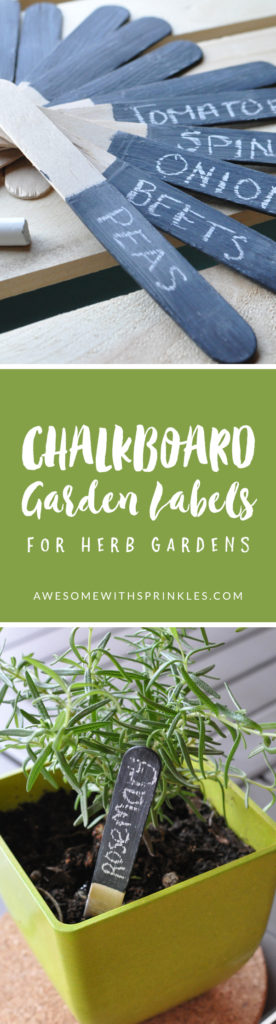
Toss those manufacturers labels, empty seed packets, plastic spoons or whatever else you are using to label your rows of veggies and spruce up your space with these cute chalkboard painted garden labels. Get that popular reclaimed/handcrafted look for a fraction of the cost of purchasing kitschy garden labels at a home decor store.
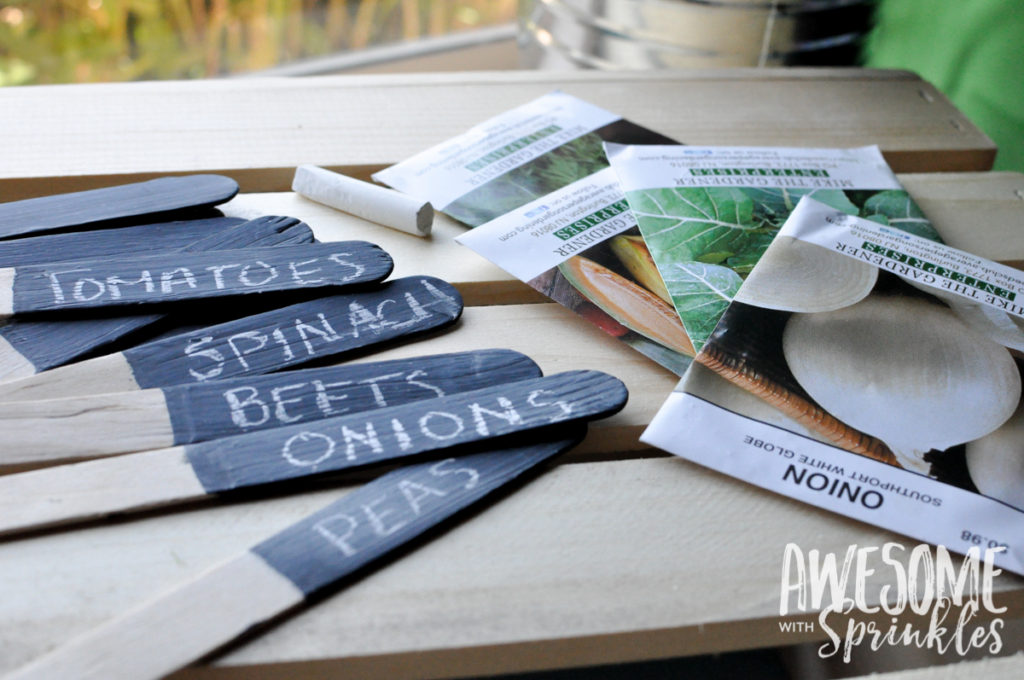
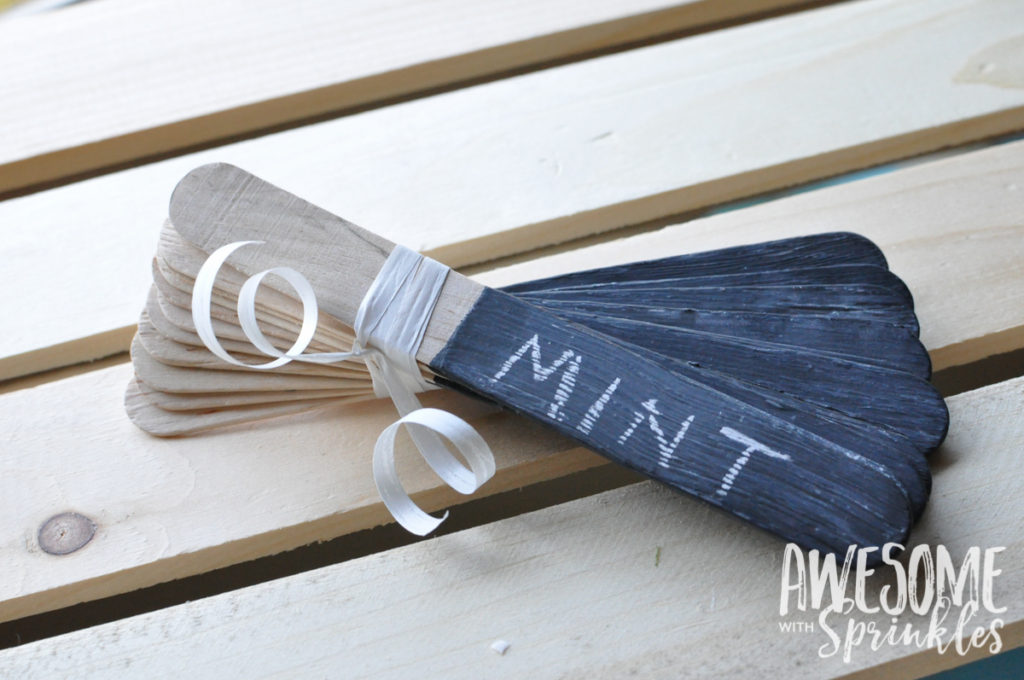
These cute little labels are so easy to make! They would even be a great project to do with the kiddies. Mother’s Day is coming up and how fun of a gift would these be paired with some seed packets for Mom to grow her own greens or with some fresh potted herbs. Love it!
How-to Make Chalkboard Painted Garden Labels
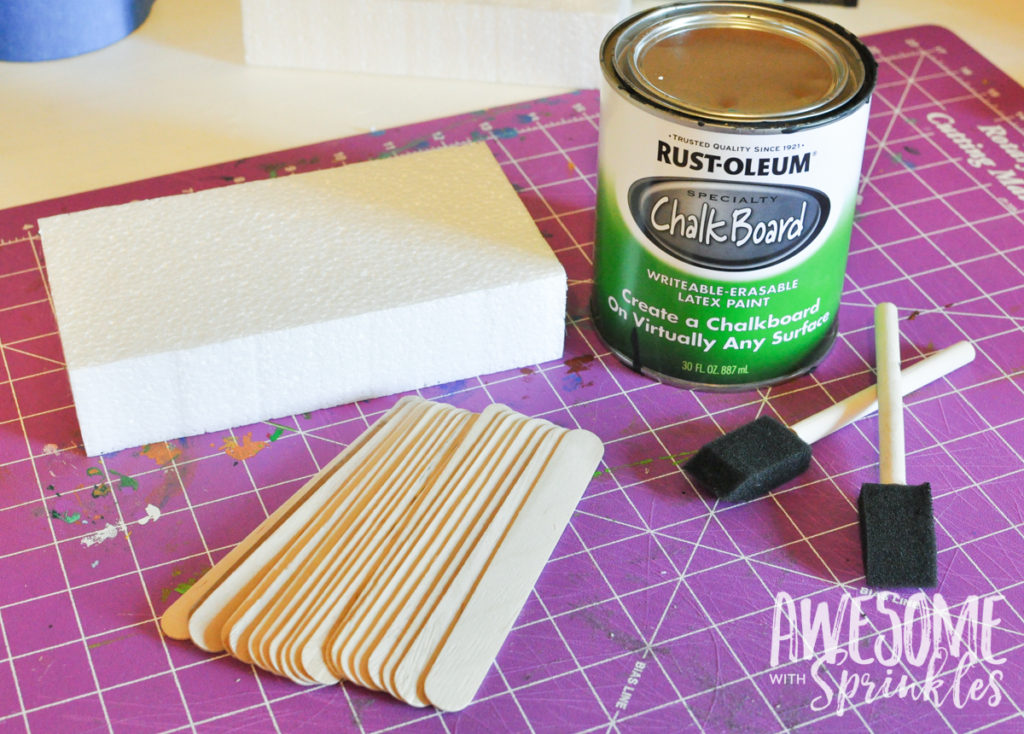
You will need:
- Chalkboard paint (you can get this at the hardware or craft store or from Amazon. Or make your own)
- Wooden “popsicle” craft sticks
- Small foam brush
- Styrofoam block (to hold your sticks while drying)
- Newspaper or butcher paper to cover your workspace
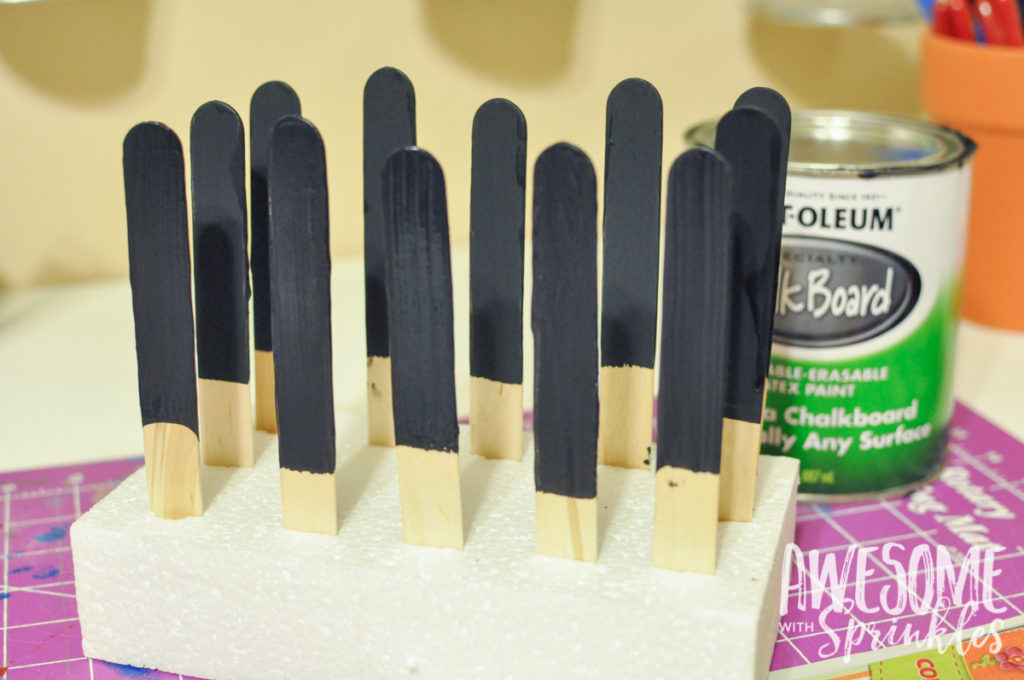
1. Prep your area
Prep your painting area by laying down newspaper or butcher paper so that you don’t get this dark paint on your work table. Poke your wooden sticks into the foam block spacing them far enough apart so that they don’t touch each other and you don’t touch the wet sticks while putting them back in the block. Putting them in the block first makes it easier to adjust the spacing (before they are wet) and also makes it easier to put them back in the block after they are painted without having use so much force and possibly smudge the paint.
2. Dip. Wipe. Dry. Repeat
If you are using a large container of paint or making your own, a good idea is to pour some of your paint into a smaller container or cup that is deep enough to cover your stick up to the last few inches. (This will also make it easier to retrieve a stick if you happen to drop it into the paint.) This can of paint has been well used around my house so it was only about half full which was perfect!
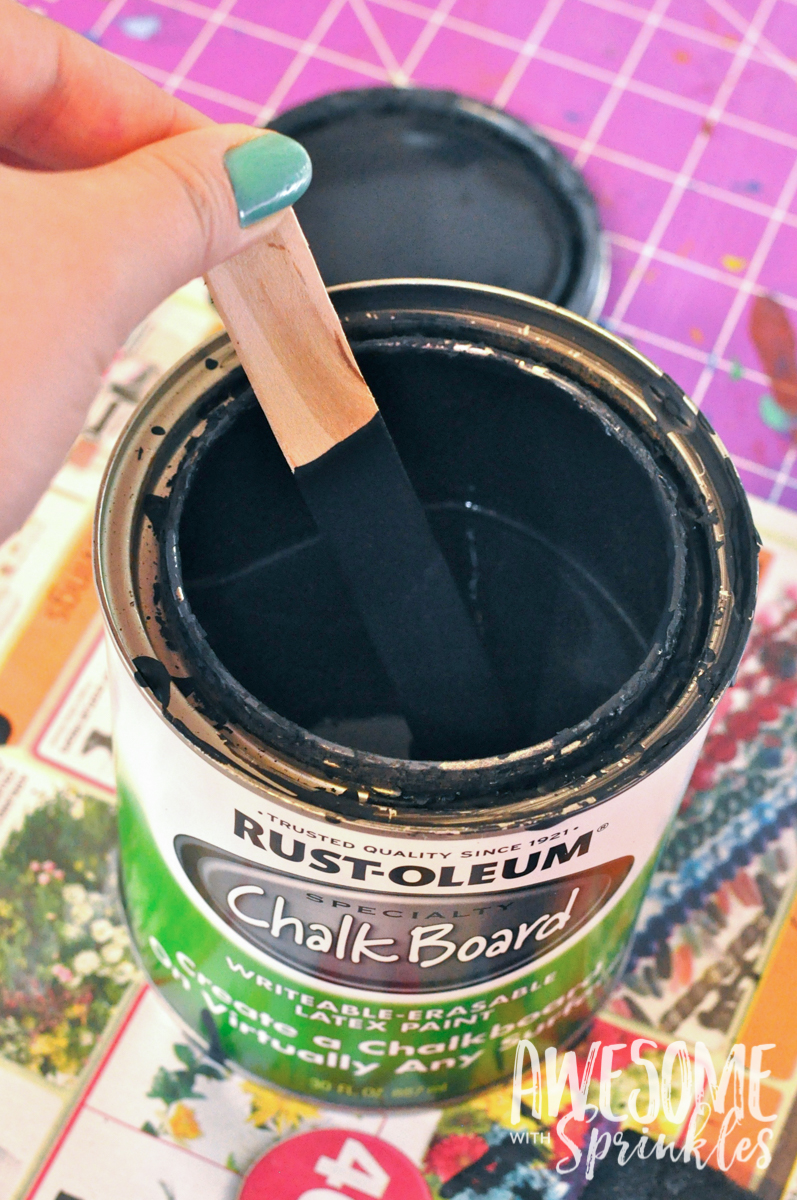
Dip your sticks into the paint leaving about 2 inches unpainted at the end.
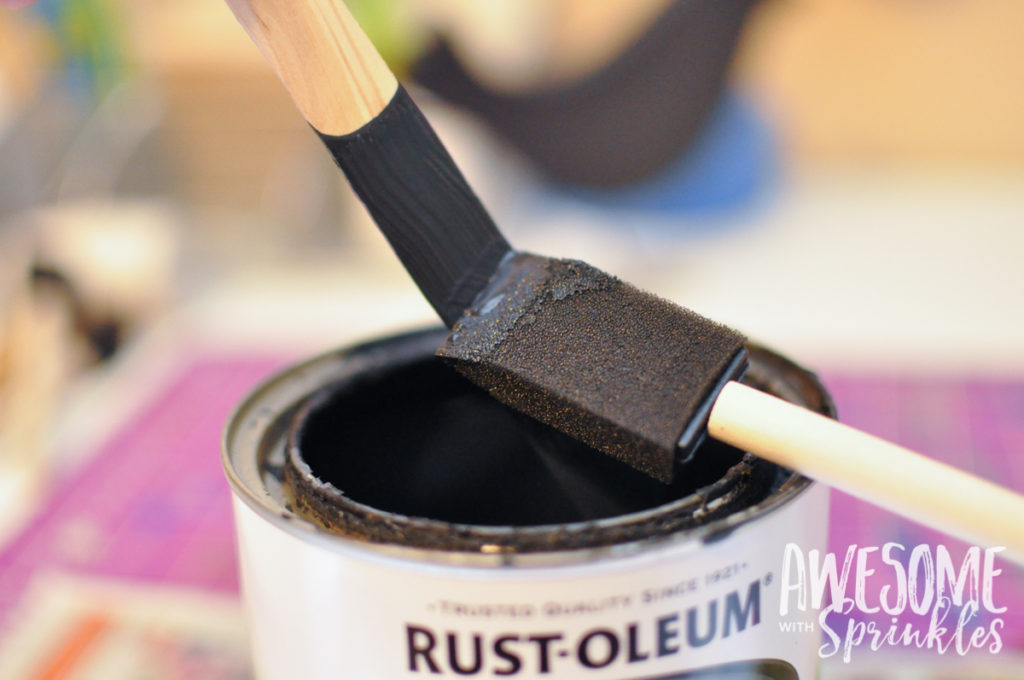
Wipe off any excess paint with your foam brush and smooth out any drips.
Place your painted stick back into the foam block to dry (about 30 mins). Dip again for a second coat and then let dry overnight.
3. Prep your chalkboard sticks for writing
As with most chalkboard painted surfaces, it is a good idea to prep the surface before writing on it. To do this, take a piece of chalk, and rub the side of the chalk all over the surface of the chalkboard painted area and then wipe clean with a dry cloth. This will get a good layer of chalk dust onto the paint ensuring that your surface will erase more easily. If you ever need to completely erase your chalk labels, wipe them clean with a damp cloth. Prep the surface again before writing on it.
Quick Tip: If you are worried about the chalk washing off in your garden, you can also use a chalk marker, white permanent paint marker, or spray with a little clear acrylic sealer spray for a more permanent label. This makes them less reusable, but more durable if you are gardening outdoors.
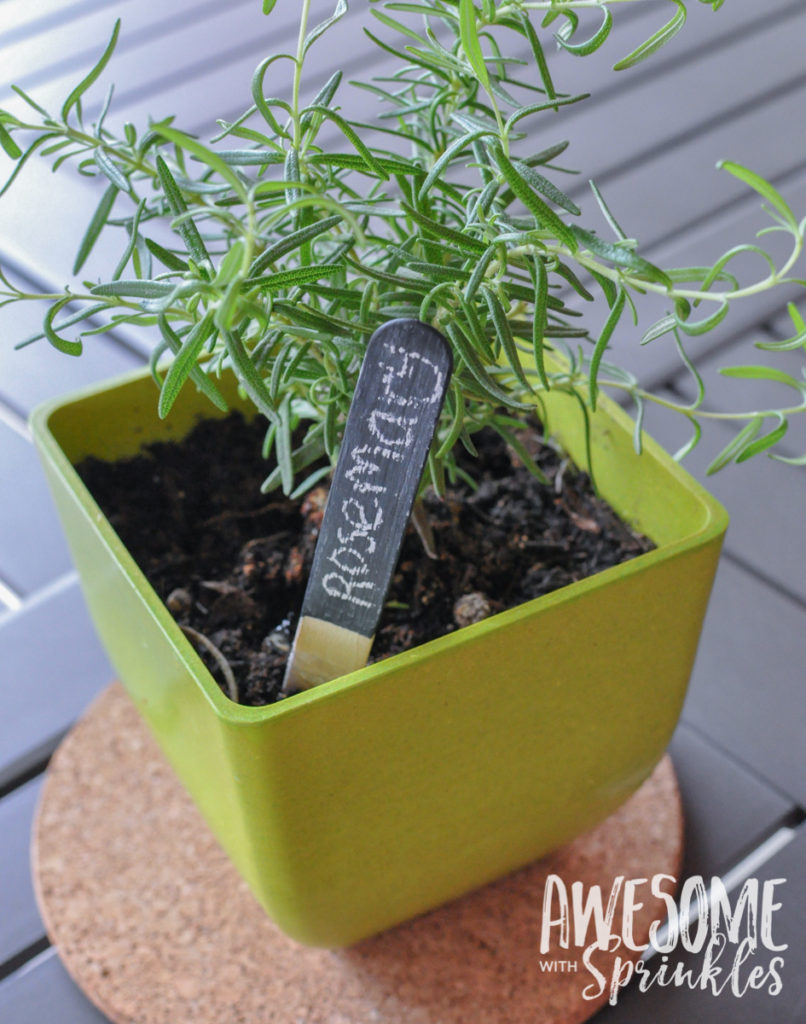
Write on a label, stick it in your pot and you are all done! Step back and enjoy that the cute factor on your garden just went up.
I made these as a gift for a friend of mine who bought a new home not long ago and has been tending to a little veggie garden in the back. I thought I would help her add some cuteness. 🙂
Pin for Later:


Hi,
I love your ideas! I am getting married this summer and my parry favor will be potted herbs and I will be using your idea for the names of my guests. I was thinking that I may need to use a wider tongue depressor to fit my guests’ names. Any suggestions as to where I may be able to purchase them? Thanks!
Amy
Hi Amy! Those sound like adorable favors! What a fun (and useful) thing to take home to remember the day. The sticks that I used are about 3/4 of a inch wide, which are a bit wider than traditional “popsicle” sticks. I bought a bag of 100 “jumbo craft sticks” at my local Hobby Lobby. You should be able to get them at most craft stores, such as Michael’s or JoAnns, as well. If you can’t find them in store they are available on Amazon.com. These are the same brand as the ones I used: http://goo.gl/XCiTZ Happy crafting and I hope that your wedding is simply lovely! 🙂