Happy first day of spring! You know what that means – FLOWERS! It’s time for a mini garden makeover (on a budget)!
Confession! I hate sticking to a budget. Who does? Also, plants and I are not friends. I am a total “black thumb.” So why on earth am I planting a garden? I have this planter box in my backyard that has become a graveyard to the plants of the past. It really needed to be cheered up! Plus it also would create a space for a “Monster Rock Family” to live. More on that later.
With my track record of killing off all living things (well, my kids and the cat have survived thus far) I was on a strict budget of $50! I am not much of a gardener and didn’t really know what I was doing so I called in a gardening expert – Heidi! Okay, maybe not an “expert” but she at least knows more than I do! With our plan in place and budget fixed we set out on creating a cheery oasis.
Gardening Supplies Needed:
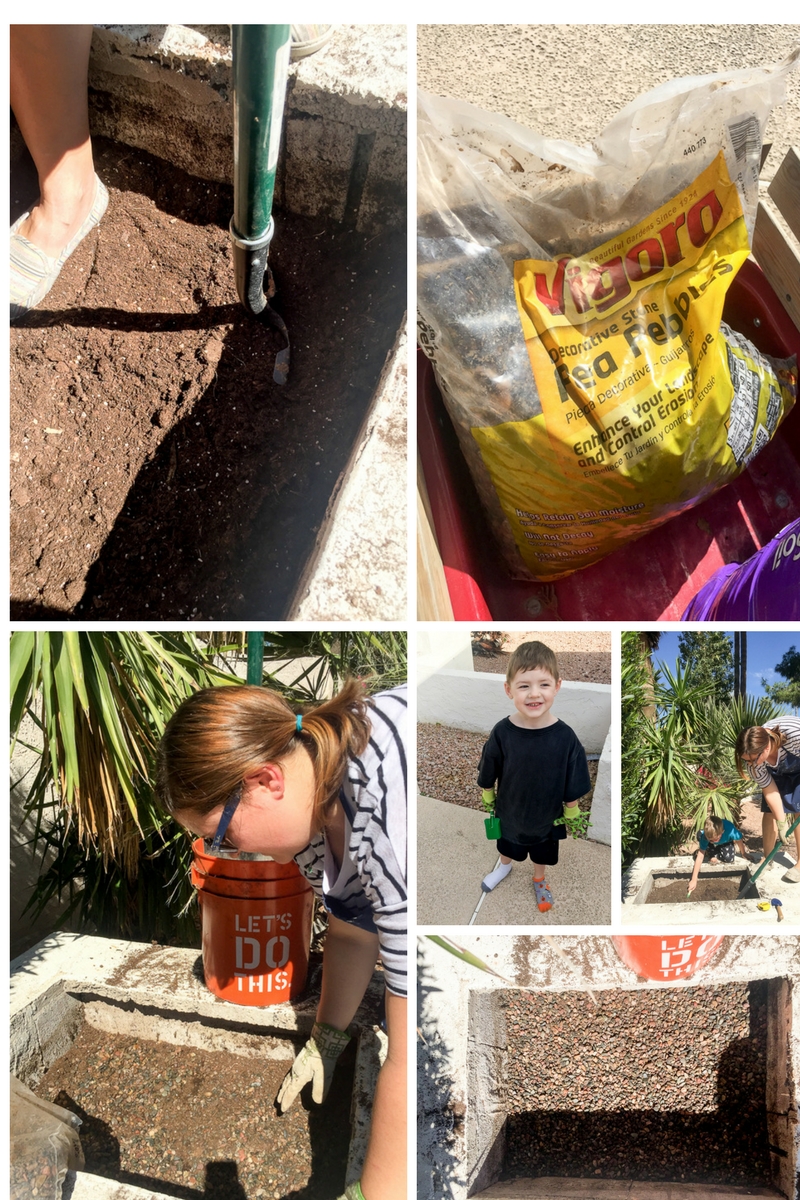
- Vigora Pea Pebbles (for the draining layer and decorative path) – $4.18 *
- Miracle Gro – Garden Soil for Flowers – $6*
- Vigora Brown Mulch – $3.33*
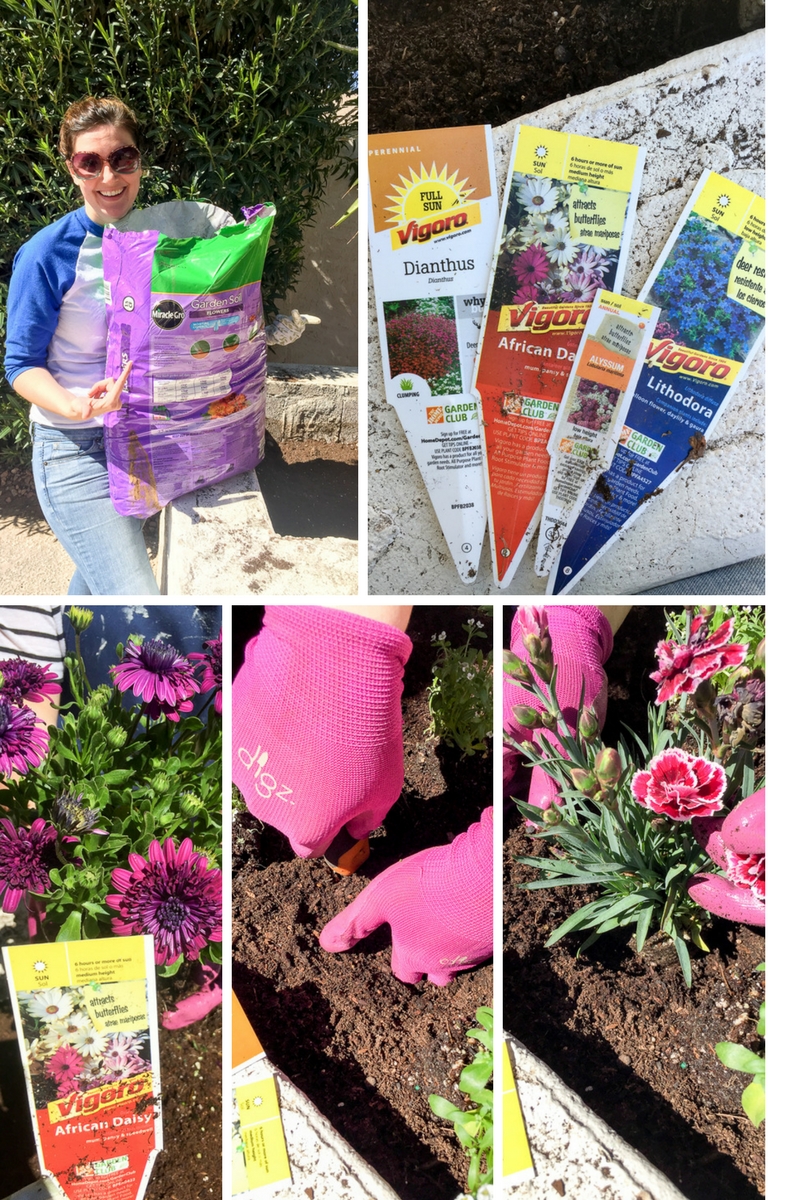
- Dianthus, Lithodora, African Daisy, Alyssum flowers – $15 *
- Plant Watering Stakes – $11.49
- Wine bottles – $0 (donated by Heidi)
GRAND TOTAL: $40 * plus tax – and STILL UNDER BUDGET
To celebrate my victory of coming in under budget I splurged the last $10 on these cool Glow in the Dark Pebbles. 😉
Our project from start to finish took about 2 hours. (Not including our shopping trips to the store or lunch breaks). My garden space is about 20 inches by 30 inches. Your planter box or garden space may require more or less soil and supplies depending on its size, but this will give you a general idea for a good sized space.
I already had a garden box space in my yard, so I didn’t need to buy any planter boxes, but if you are building a new gardening space, you may want to pad your budget a little to account for any new planter box supplies you may need.
I also didn’t have any gardening tools so I did have to pick up a few extra things for me and the kiddos. I bought these Kangaroo’s Kids Garden Tools and JustForKids Soft Jersey Kids Garden Gloves. I assume that some of you already have tools for playing in the dirt, and since they are reusable for many gardening tasks to come, I didn’t count them towards my overall budget.
We bought most of our gardening soil and flowers at our local Home Depot and the rest of the items I picked up on Amazon. $50 is probably on the lower end for starting completely from scratch, but guess what ladies and gents…I came in under my budget AND love the space we created! Mini garden makeover success!
Let’s Do This:
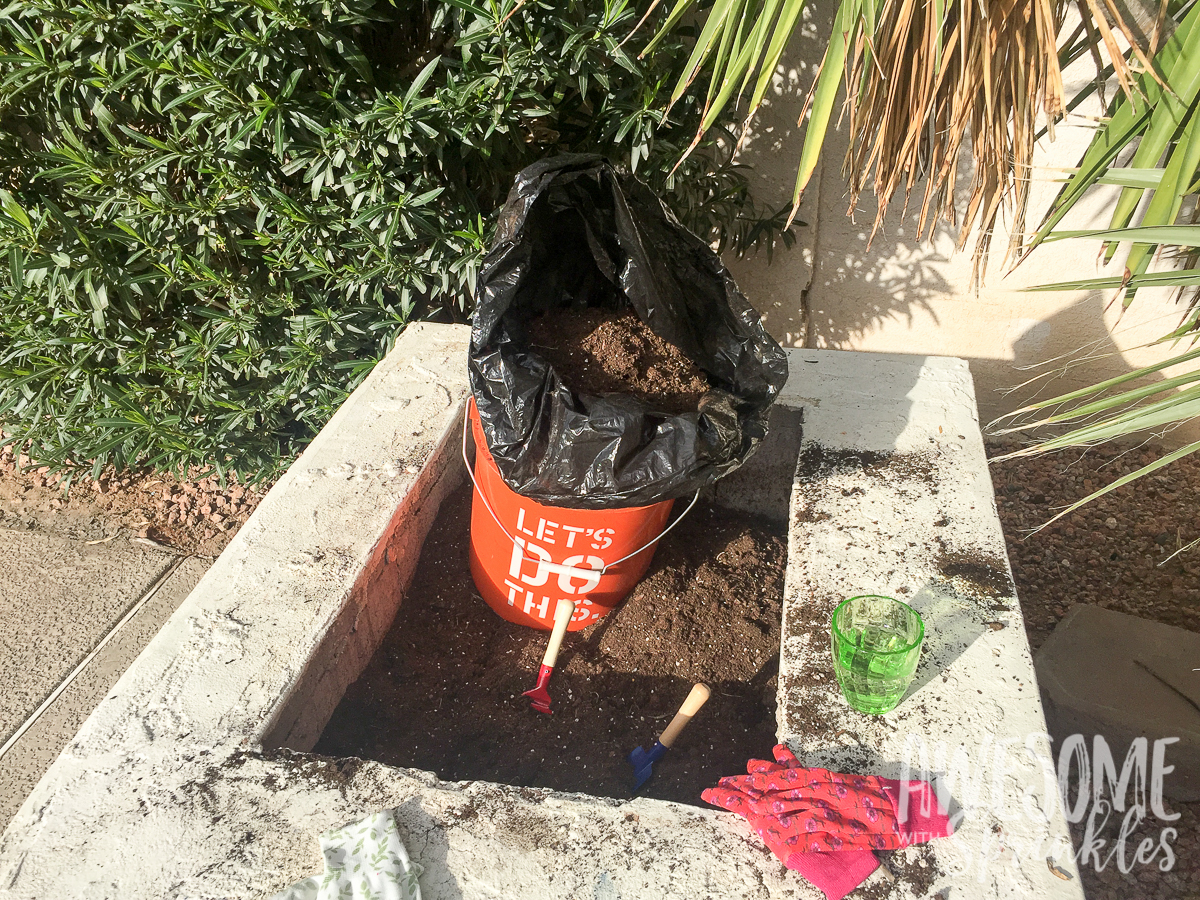
1. Prep your garden space
First things first…we had to get down and dirty and dig out all of the old dead plants and moldy earth. Fortunately Arizona is pretty dry, so mold is not a common problem. We also didn’t have any issues with any bugs. I am pretty sure they were all baked to a crisp long ago.
Helpful tip: When removing soil from a planter box or flower bed use a bucket lined with a garbage bag. The bucket keeps the bag stable and holds the bag open for you to easily shovel the dirt inside. Then you can easily transport the dirt to another area or compost.
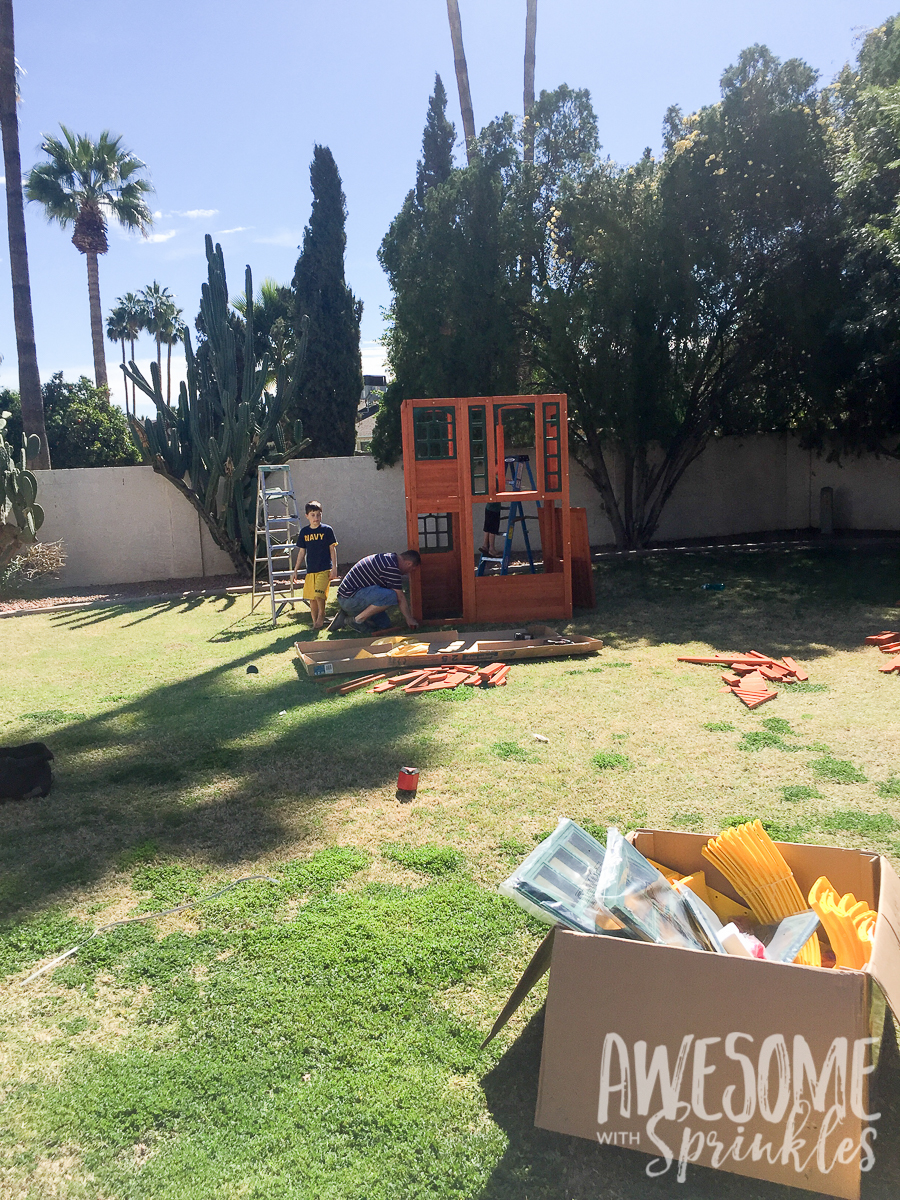
This was a PERFECT job for my boys. I mean what little person doesn’t love to dig in dirt! Or so I thought…
We surprised the kiddoes this spring with a new playhouse for the backyard. Being the very clever mama that I am, I planned the construction of the new playhouse the same day so that the gardening activity would keep them entertained and out of the way of the “big boys” while they built the playhouse. Uh yeah. Their attention lasted about 5 minutes before they abandoned their dirt digging duties and left me alone in the garden. Let’s just say the tools won out over the dirt. Seriously though, no contest!
There I was digging out my planter box with the tools I got for the boys when backup arrived! I would still be emptying that planter box if Heidi hadn’t come along with her grown-up sized shovel!
2. Create a drainage layer
I am pretty sure this planter box was bottomless and filled three feet high with dirt. So we cleared off the first 12 inches. Then we (and by we I mean Heidi) did a little dance on top of it to pack it down, then I evenly poured about a 1/2″ of the Vigora Pea Pebbles to provide a drainage layer. This drainage layer is important in allowing the soil to drain so there isn’t any standing water in which mold can grow. This is especially important when planting in enclosed planter boxes or flower pots.
3. Add your Dirt
We topped the pebbles with our topsoil, which was a 50/50 mix of Miracle Gro-Garden Soil (the entire bag) mixed with some of the clean native soil from the planter box.
The Dirt on Dirt: What type of soil you use in your planter box or garden bed is very important to maintain the proper moisture and drainage for your plants and prevent root rot. If you are planting in a planter box or flower pot you should use POTTING soil. If you are planting in flower bed or outdoor garden area, use GARDEN soil. You can also buy specialty mixes for flowers or vegetables, depending on what you are growing. Since our planter box was quite large and the dirt was very deep, we treated it as a garden area vs a planter box.
4. Plant your flowers (or herbs!)
Next comes the plants, or in our case, flowers! Heidi helped me select mostly perennials and one annual to plant. I decided to keep the colors bright but coordinated. It was really difficult to pick from all the pretty flowers!
Did You Know? Annual plants are plants with a life cycle that lasts only one year VS Perennials that return year after year, blooming on their own.
When you are picking your flowers, herbs or vegetables to go in your garden, it’s important to check the labels for sun and water requirements. You want to make sure you know how much sun your garden is going to get, and buy plants that thrive in part-sun, full-sun or shady areas. Here in Arizona this is especially important if you don’t want your foliage frying to a crisp in the sun!
If you are planting herbs or veggies, make your own chalkboard garden markers so you know which plants or seedlings are which!
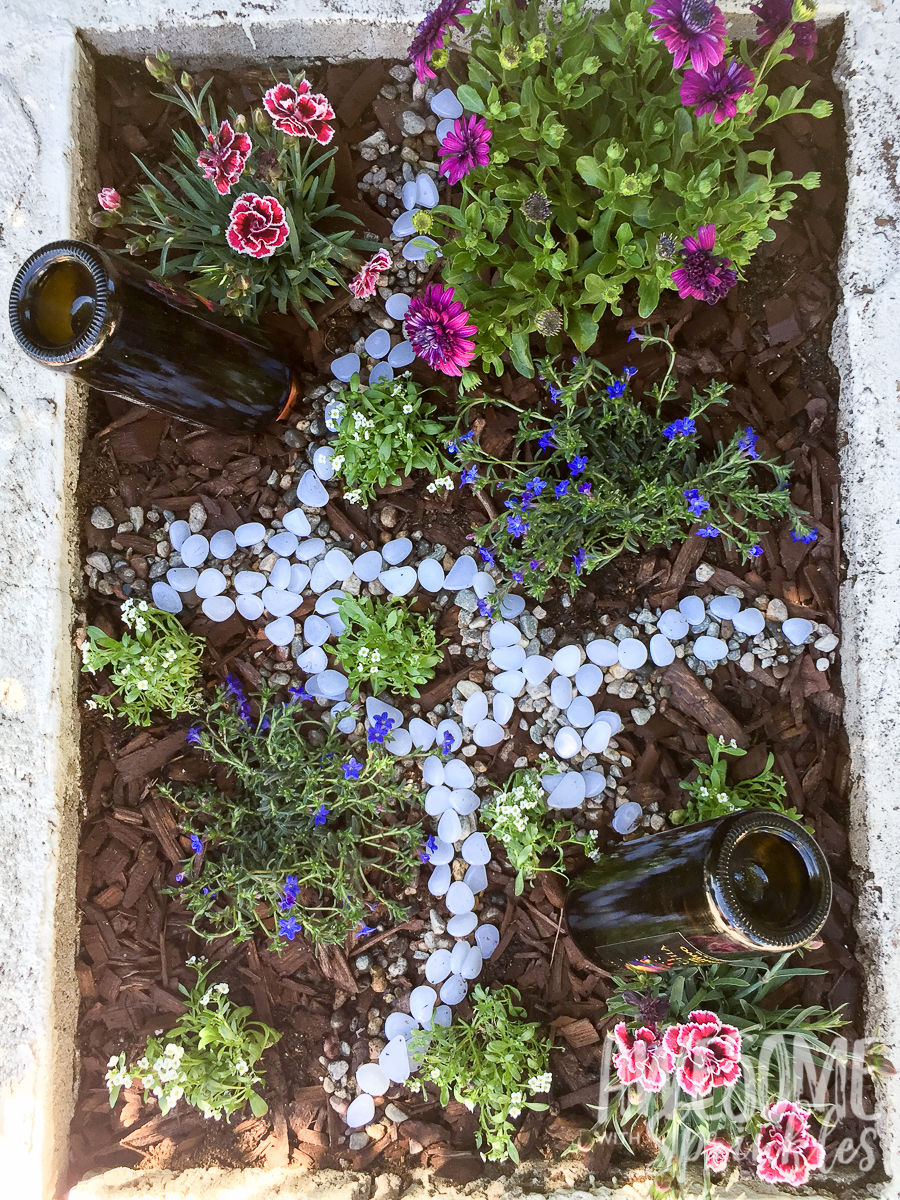
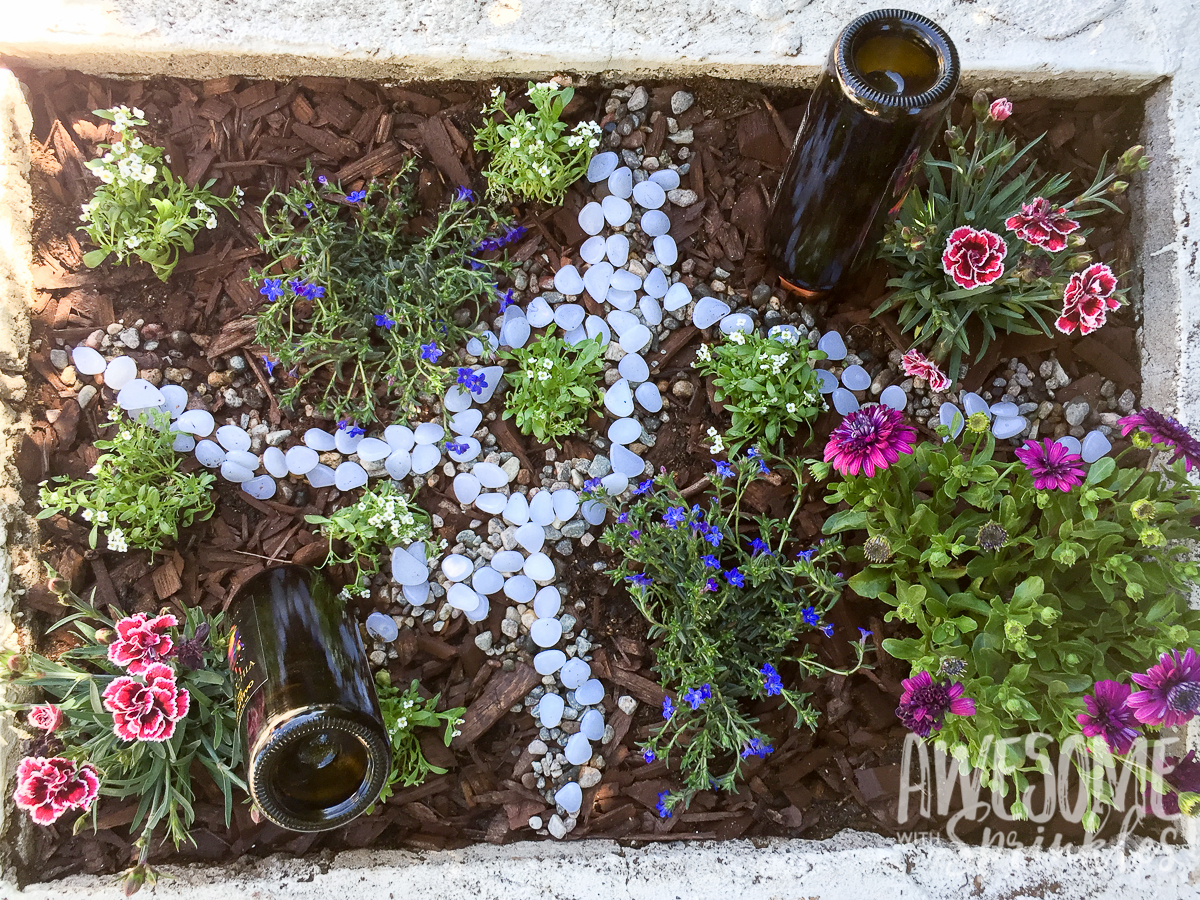
In the end we purchased Dianthus, Lithodora, African Daisy (to attract butterflies), and Alyssum (also to attract butterflies). With all our beautiful flowers tucked snugly in the new flower bed we used Vigora Brown Mulch to help add a layer of protection from the hot Arizona sunshine. This step will help keep moisture in and the plants well hydrated.
5. Hydrate and Decorate!
Speaking of hydration, we used these ever-so-handy plant watering stakes to keep our thirsty blooms well watered. If you happen to not be a wine drinker (like myself), you can ask a friend to donate their empties (thanks Heidi!) or you can add these Plastic Wine Bottles to your Amazon cart! Another great alternative are these pretty Aqua Globes! Amazon has a ton to pick from at all price points!
Heidi might like playing in the dirt, but for me it’s the decorating that is the fun part! You can add all sorts of whirligigs and garden gnomes to watch over your flower beds!
Since we were intending this to be a rock garden home for our “Monster Rocks” we added some little stone paths throughout the garden and accented them with those super cool glow in the dark pebbles I was telling you about! They really add some pizazz to the garden at night and the contrast against the dark mulch looks awesome during daylight hours.
So where, oh where is the Monster Rock Family??? That my friends is a whole other ball of creative wax. I was BEAT after this project but I promise they will be moving in soon! I had so much fun and I learned a lot about gardens from the ever so talented Heidi, and I couldn’t believe how under budget I came! Happy planting everyone! And stay tuned for those Monster Rocks!
Share your mini garden makeovers with us in the comments or on our facebook page! We would love to see what YOU come up with!